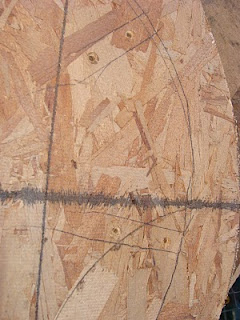
I am designing 3 dilapidated trees to go into a room that is going to appear to be over grown. Here are the step by step photos and how-to commentary.
To design the circles that create the circumfrance of the tree I used an
old trick my dad tought me. You put a nail or screw in the middle of your design
attach a string/wire and stretch it out and attach a pencil/pen/crayon/marker
and then trace a line in a circular pattern. Then cut it out with jig saw or abn saw.
THis is the smaller disk to form the middle and top of tree
This is the larger of the disks to form the base of the tree
Here I have place the smaller disk on the larger and traced an out line
Here i have taken my 1X4 set it up on the outter ring drawn in by the smaller of the
disks drawn in there out line and drilled holes for my scews to
go into.
When you have traced and drilled all of your holes put some wood glue or
Gorilla glue on tops and bottoms of 1X4 and attach to base first. The place your smaller disk on
top and line up to the outside edge of disk and attack with screws.
Now come the part where you need gloves, attach the chicken wire to top and bottom
disks with staple gun, dont be afraid to use some staples.
Now using ban saw or jig saw cut out some curly design(dosent
matter what the look like)
Then cover with more chicken wire. I found making a tube
out of the chicken wire then attaching it made it easier.
The bend to match the shape you made
and attach using a staple gun.


